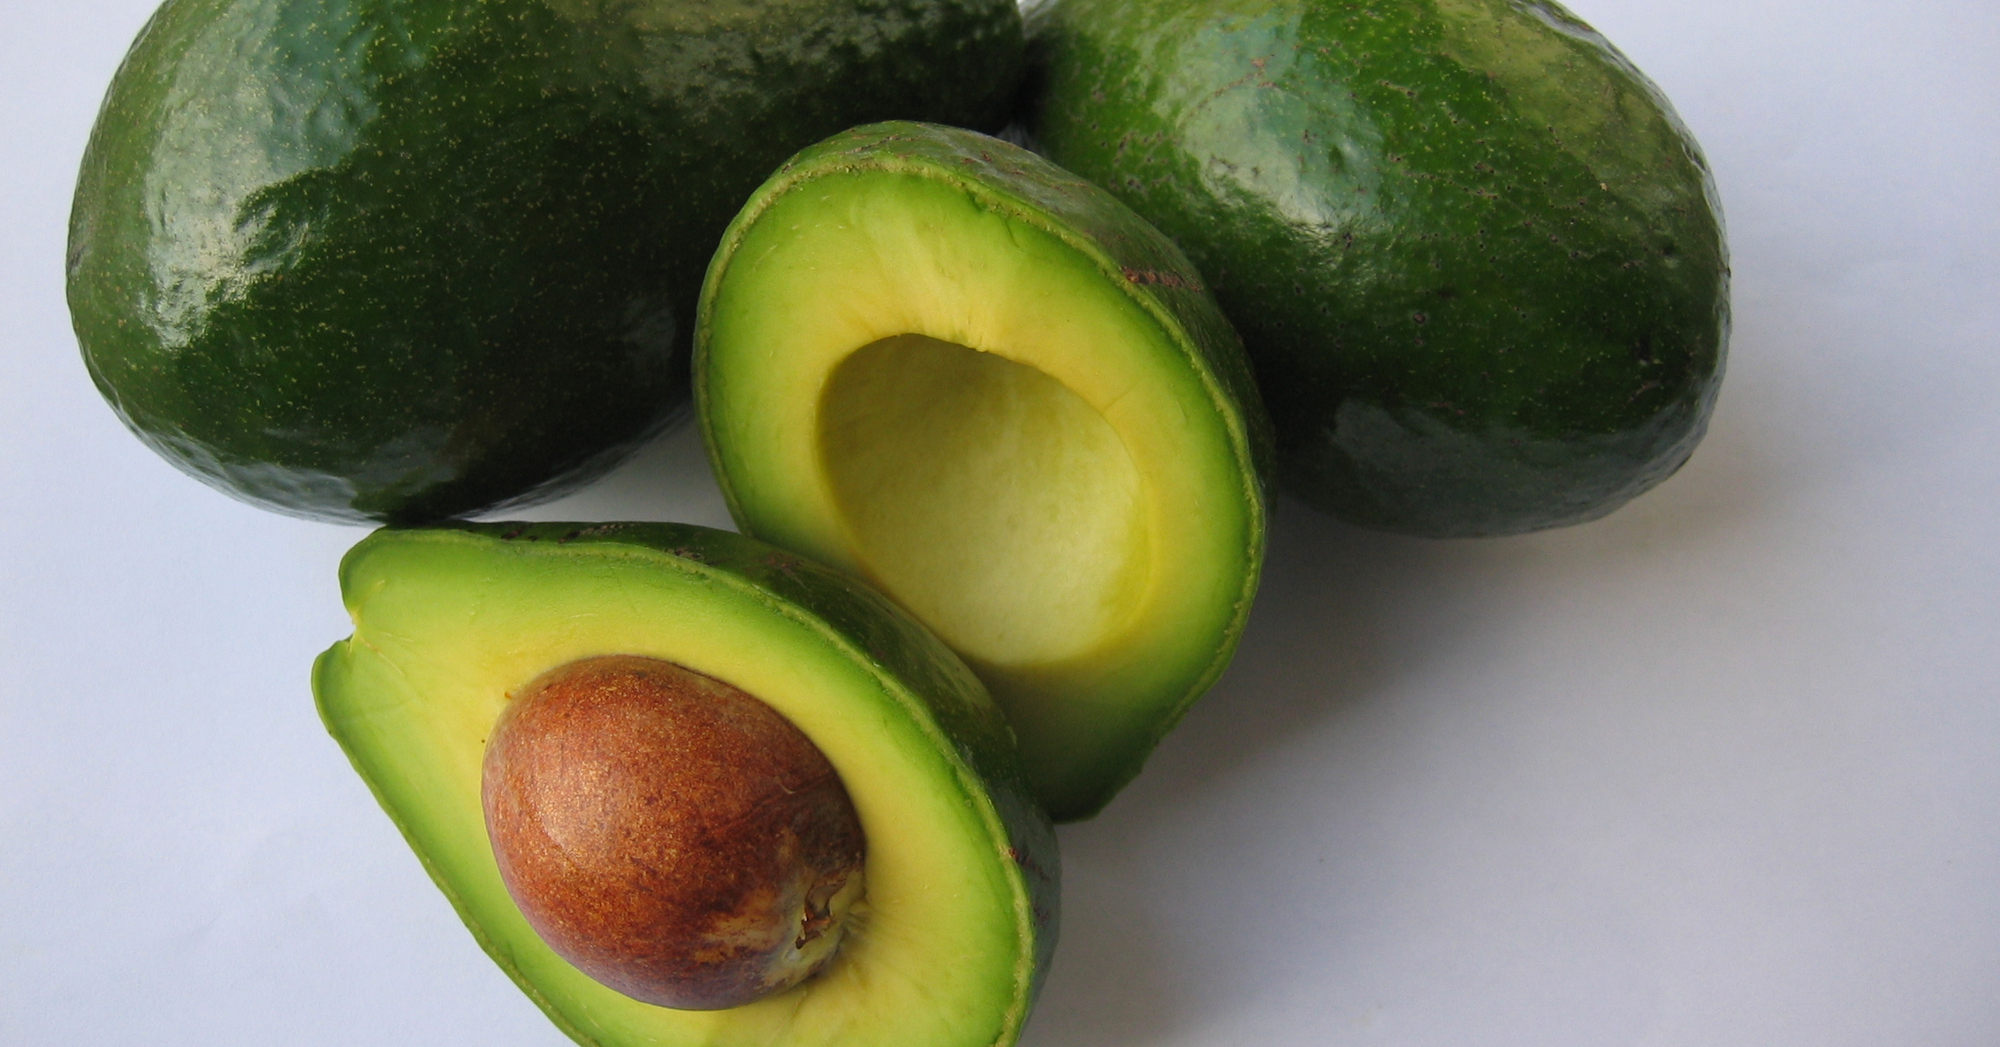
So, we ate a delicious salad with avocado and shrimp, now let's philosophize on the topic of what to do with the bone. Like any housewife, we want to plant and grow a beautiful ... avocado tree? flower? bush?
All in all, it doesn't matter now. It is important that the bone costs money and our conscience does not allow us to throw it away. You can grow avocados not only in your native South American forests, but you can also plant avocados on the windowsill. Unfortunately, it will not be possible to try the ripened fruits of this tree at home, and it will not bloom, but it will become your green pride.
Very often the question arises "avocado vegetable or fruit." Although the avocado tastes like a vegetable, it is still a fruit. Therefore, you will grow an avocado fruit tree, warm and moisture-loving.
How to plant an avocado seed at home
To begin with, the avocado seed needs to be germinated. To do this, you need a ripe and juicy fruit. The extracted, washed and slightly dried bone should be “hung” on 3 toothpicks or matches and put in a small jar. Toothpicks need to be stuck into the bone at such an angle that the bone seems to be strung on them by itself. The lower third of the bone should be in the water, the lower edge should be thickened, the upper one narrowed.
For a jar with a bone planted on toothpicks, a window sill near the battery is suitable, the air temperature should be about 20-22 degrees Celsius. In this position, of course, sometimes changing the water, the bone will live for at least 2 months! A month later, the bone will have a root. It grows and quickly reaches the bottom of the bank, then it starts to arch. If you use a high jar, then the root will be straight and long, it will be difficult to plant such a sprout in the ground.
A month later, a sprout will appear from the bone. When there are at least 2 young leaves on the stem, transplant into a pot so that the stone remains above the soil surface. Over time, the stem will split the bone, and it will be some kind of beautiful rudiment.
With the appearance of the first leaves, pinch the top, otherwise you will not have a beautiful tree, but a green rod. Your whole idea will no longer seem like such a fun experiment. By pinching the leaves, we will form an interesting bush.
Updated 19-07-2011.
2 months after planting the sprouted seed in a pot, a neat green bush turned out. In the photo, by the way, you can see the place of the first pinching.
The article was prepared specifically for the site shop-ultra.ru


Hope
30/06/2011 at 00:50
But I wonder if anyone has already grown such a tree? Will it survive on our windowsills? And what to expect from him?
Hope
19/07/2011 at 23:17
Thanks for the photo. It turns out that store-bought overseas fruits and vegetables are not only useful to eat, but also interesting to grow.
Anastasia
27/10/2012at 12:11
Thank you!)) I have already stuck the toothpicks into the bone and put them in a jar on the windowsill!)) I hope the same pretty little sprout will grow. =)
Anastasia
26/11/2012 at 03:58
And we have already taken root 8 cm =)), though it sat in the water for quite a long time - the root appeared in a month after 2. We will plant it in the ground)) Good luck to everyone!
Mr.Being
18/03/2013 at 22:15
I planted a seed a month ago. The bone is silent. At least whisper something. dug up. There is a root growing underneath. I went to the site to clarify what it grows: a root or a stalk. Such a spine. Buried. Now I'm waiting for the stem 🙂
Marina
23/04/2013 at 20:14
How to understand "pinch"? How it's done?
shop-ultra
03/05/2013 at 23:40
Marina,
> With the appearance of the first leaves, pinch the top,
2 leaves came out, took and cut them off. Then leaves and twigs will develop in different directions. You can see it in the last photo.
Julia
09/01/2014 at 11:38
My root appeared only 2 months after I placed the bone in water on toothpicks! Waiting for a stalk with leaves!)
Kamelia
22/04/2014 at 23:03
Hmm, didn't do anything like that. I just took a bone and stuck it in the ground. Not even 2 weeks passed before the sprout appeared. Now it is a red-brown stalk, see 10-11. The stone is completely covered with earth. I'll see what happens next.